As we all know Android has released its Android O preview for developers,
now developer can download this preview version on there Android Studio version 2.4
To add different fonts in Android XML for Android API level <26
we used to follow this steps
Now Google has made much simpler to add and explore various fonts styles in Android studio 2.4
here are the steps to follow
Next step is to add the font styles to your font folder
you can download the various fonts style given by google here and each downloaded .ttf files to font folder
again to explore this fonts you can write in xml
Now Google as made much easier to succeed
now developer can download this preview version on there Android Studio version 2.4
To add different fonts in Android XML for Android API level <26
we used to follow this steps
- Go to the (project folder)
- Then app>src>main
- Create folder 'assets>fonts' into the main folder.
- Put your 'abc.ttf' into the fonts folder.
    AssetManager am = context.getApplicationContext().getAssets();

    typeface = Typeface.createFromAsset(am,
            String.format(Locale.US, "fonts/%s", "abc.ttf"));

    setTypeface(typeface);
or try this way:TextView tx = (TextView)findViewById(R.id.textview1); Typeface custom_font = Typeface.createFromAsset(getAssets(), "fonts/abc.ttf"); tx.setTypeface(custom_font);
Now Google has made much simpler to add and explore various fonts styles in Android studio 2.4
here are the steps to follow
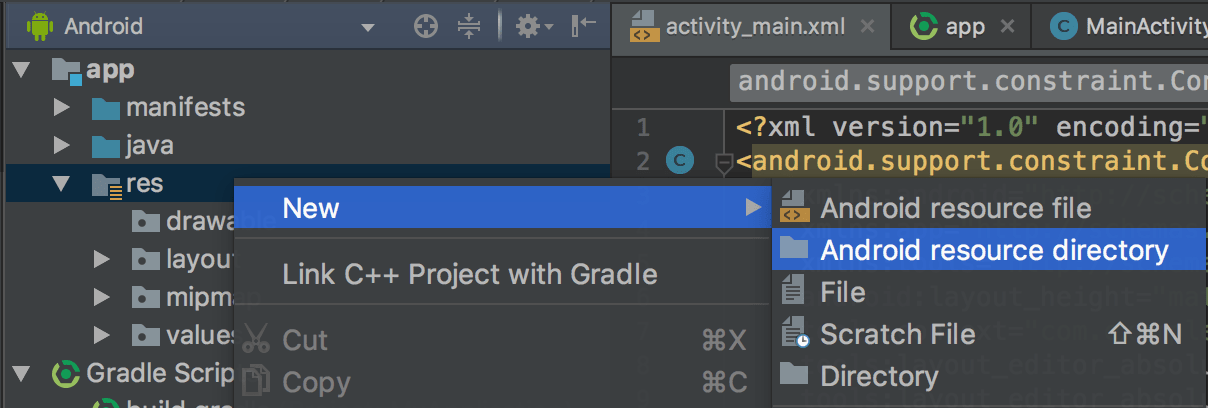
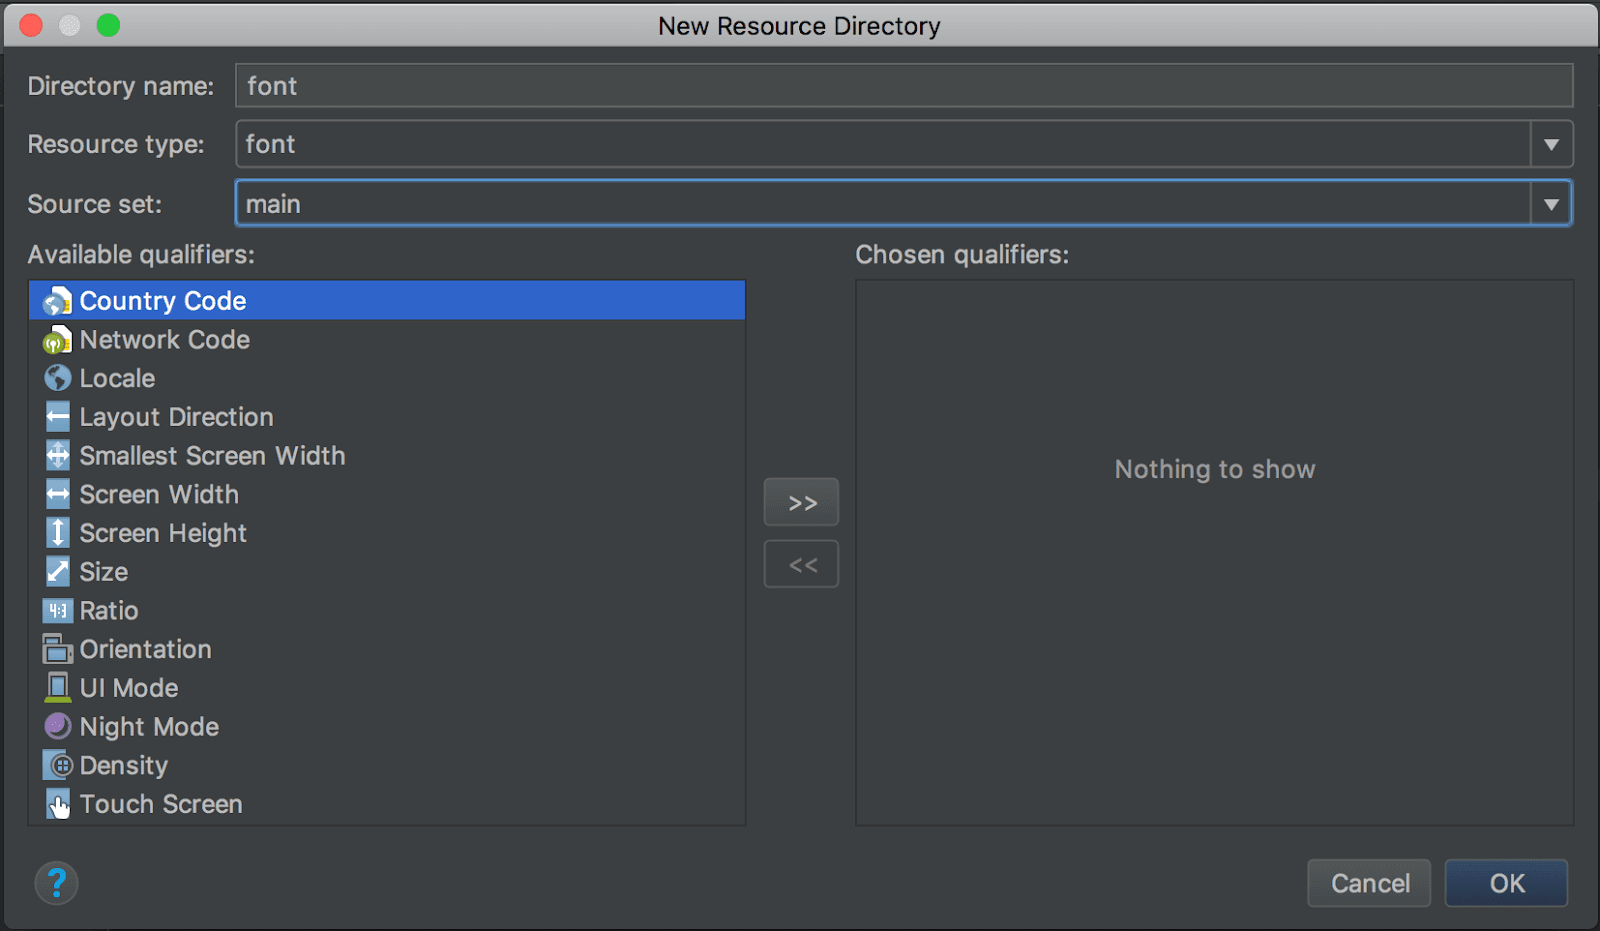
- Go to the (project folder)
- res>right click > choose resource folder >type font > choose ok
Next step is to add the font styles to your font folder
you can download the various fonts style given by google here and each downloaded .ttf files to font folder
again to explore this fonts you can write in xml
    <TextView
        android:fontFamily="@font/indie_flower"
        android:layout_width="wrap_content"
        android:layout_height="wrap_content"
        android:padding="10dp"
        android:text="@string/sample_text" />
If you want to use this fonts style programmatically you can call| Typeface typeface = getResources().getFont(R.font.indie_flower); textView.setTypeface(typeface); |


0 comments:
Post a Comment