Wednesday, April 26, 2017
Monday, April 24, 2017
Android App Testing (Espresso)
Anatomy of UI testing.
steps:
1.Find an view
2.Perform an action
3.Inspect the result
what is Espresso testing?
It is an automatic UI testing wherein jUnit testing user will be not able to view UI
follow android testing codelabs
Main difference between the Service and Intent service are
steps:
1.Find an view
2.Perform an action
3.Inspect the result
what is Espresso testing?
It is an automatic UI testing wherein jUnit testing user will be not able to view UI
follow android testing codelabs
Main difference between the Service and Intent service are
1.Service does not create a separate worker thread for a request
2.Service always runs on main GUI thread if you do a long running operations onOnStartCommond method or Oncreate app may leads to ANR
3. It is used to handle the multiple request at a time
4. Need to create a seprate thread to perform long running operation
2.Service always runs on main GUI thread if you do a long running operations onOnStartCommond method or Oncreate app may leads to ANR
3. It is used to handle the multiple request at a time
4. Need to create a seprate thread to perform long running operation
5.We always call a method selfStop/stopService to stop service
If the service is startService than service is running indefinitely even if the activity started destroyed
If the service is bindService than service will be auto destroyed by killing the activity
If the service is startService than service is running indefinitely even if the activity started destroyed
If the service is bindService than service will be auto destroyed by killing the activity
Sunday, April 9, 2017
Add XML fonts in Android O
As we all know Android has released its Android O preview for developers,
now developer can download this preview version on there Android Studio version 2.4
To add different fonts in Android XML for Android API level <26
we used to follow this steps
Now Google has made much simpler to add and explore various fonts styles in Android studio 2.4
here are the steps to follow
Next step is to add the font styles to your font folder
you can download the various fonts style given by google here and each downloaded .ttf files to font folder
again to explore this fonts you can write in xml
Now Google as made much easier to succeed
now developer can download this preview version on there Android Studio version 2.4
To add different fonts in Android XML for Android API level <26
we used to follow this steps
- Go to the (project folder)
- Then app>src>main
- Create folder 'assets>fonts' into the main folder.
- Put your 'abc.ttf' into the fonts folder.
    AssetManager am = context.getApplicationContext().getAssets();

    typeface = Typeface.createFromAsset(am,
            String.format(Locale.US, "fonts/%s", "abc.ttf"));

    setTypeface(typeface);
or try this way:TextView tx = (TextView)findViewById(R.id.textview1); Typeface custom_font = Typeface.createFromAsset(getAssets(), "fonts/abc.ttf"); tx.setTypeface(custom_font);
Now Google has made much simpler to add and explore various fonts styles in Android studio 2.4
here are the steps to follow
- Go to the (project folder)
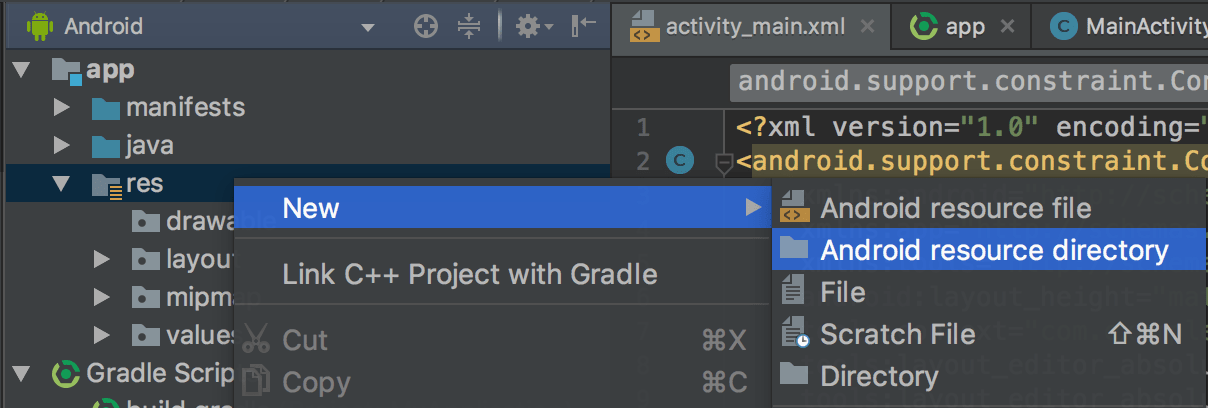
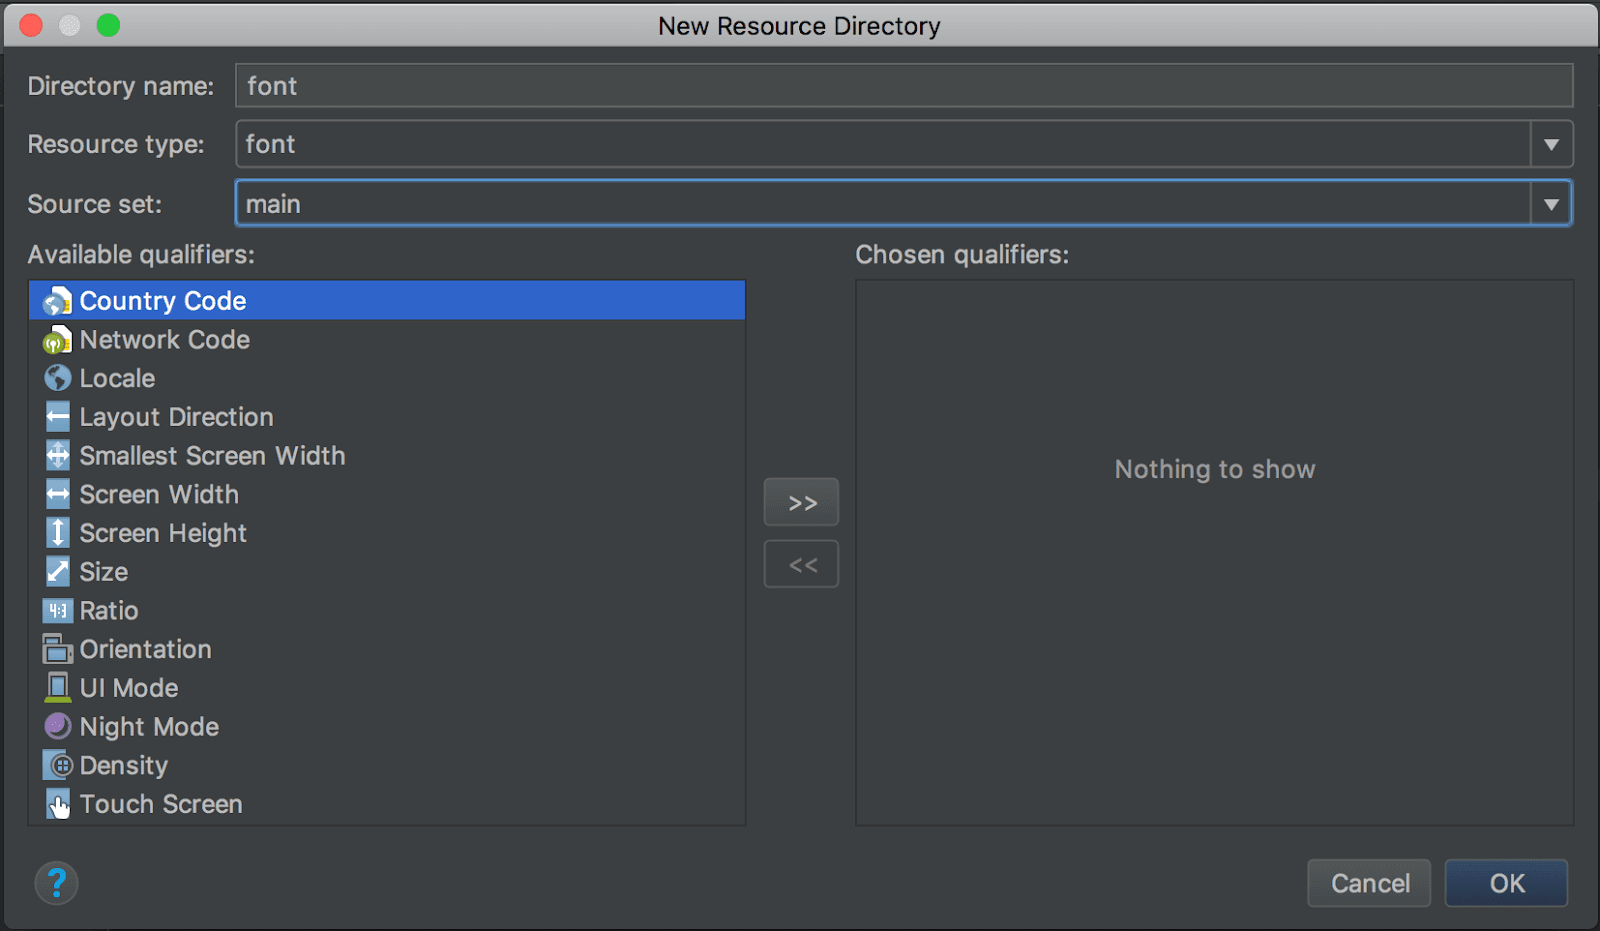
- res>right click > choose resource folder >type font > choose ok
Next step is to add the font styles to your font folder
you can download the various fonts style given by google here and each downloaded .ttf files to font folder
again to explore this fonts you can write in xml
    <TextView
        android:fontFamily="@font/indie_flower"
        android:layout_width="wrap_content"
        android:layout_height="wrap_content"
        android:padding="10dp"
        android:text="@string/sample_text" />
If you want to use this fonts style programmatically you can call| Typeface typeface = getResources().getFont(R.font.indie_flower); textView.setTypeface(typeface); |
Sunday, April 2, 2017
Migrating Apps to Android O
Google has taken the development world by surprise by announcing a developer release of Android O. While speculations are rife about what sweet the new Android OS will be named after, the makers have christened it Android O for the time being and are focusing on getting the developers accustomed to the changes in OS features and application development environment.
Why Migration Is Necessary?
During most Android OS changes, a few basic fixes make the application compatible with the new version. However, Android O has several feature and API changes that can alter the appearance and functioning of the existing Android apps. This can lead to application instability and confusion amongst the users.
Let us take a look at how existing apps should prepare to migrate to Android O, when the final version is released. The migration can be achieved in two steps, as directed by the official Android documentation.
1. Ensure platform compatibility
In order to address the changes imposed by feature and API changes in Android O, it is required to ensure the stability of the present application build first. Applications running Android Nougat can become fully functional on Android O through a series of basic fixes:
a. Download Android O system image for your emulator. Also do that for your device along with flash installation.
b. Analyze what modules and features will be affected as a result of the feature and API changes in Android O.
c. Verify the anticipated systems by running the application on the emulator. If there are any additional changes, log them for future reference. Make sure that the complete app flow, and all use cases are covered.
d. In order to mitigated the imposed changes, make any code changes to retain the app features as-is on Android O. Compile and build the code without changing the target SdkVersion.
e. Upload the duly signed application, while retaining the present API level that does not target Android O.
It is recommended to run this application on a device running Android O and perform basic compatibility testing, before making the release available to the users.
2. Customize your app for Android O
When your application is stabilized and compatible to run on as-is basis on Android O, it is time to evaluate how you can leverage the features and APIs provided by Android O to enhance current the user experience. Ensuring platform compatibility with Android O is a pre-requisite for this.
The following steps illustrate how to migrate to Android O through platform specific changes:
a. Android O development needs the new Android Studio 2.4 canary. Make sure that you have the required environment for starting development – the right IDE, emulator, and device.
b. Although you have already done this while ensuring compatibility, re-evaluate the areas in which your app will be affected. Plan appropriate support mechanisms to ensure stability of the build. After this, plan how to use the Android O features to your advantage in the app.
c. Make the basic code changes, and if required, make architectural changes to the application to support the new background limits and behavioral changes imposed by Android O.
d. Now, customize your app for specific changes that will run only on Android O, and make provisions for orienting your users through an in-app tutorial on updating the app. Recompile for Android O.
e. Check for any platform or third party issues arising from the recent code changes. Report incidents (if any) to the appropriate authorities. Test your application on both – emulator and device.
f. Update your target SdkVersion when you have verified the application functioning through rigorous testing.
g. Duly sign and upload the updated APK version for Android O to the Play Store.


